DIYvinci Design Studio offers powerful tools for adding and customizing text in your designs. Follow these step-by-step instructions to seamlessly incorporate and edit text within your creative projects.
Step 1: Accessing Design Studio
If you are on the diyvinci.com website, hover over "Studio" at the top and select "Design Studio."

Alternatively, if you are on your profile account, hover over the options at the top and select "Studio," then choose "Design Studio."

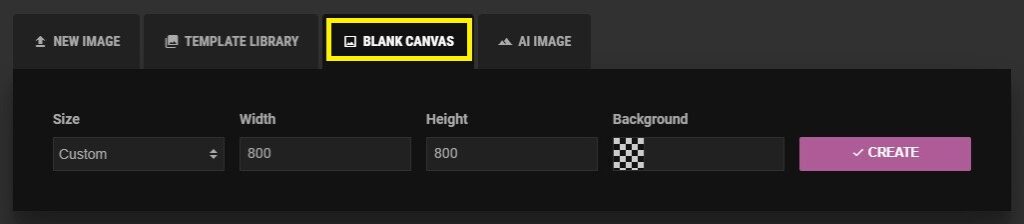
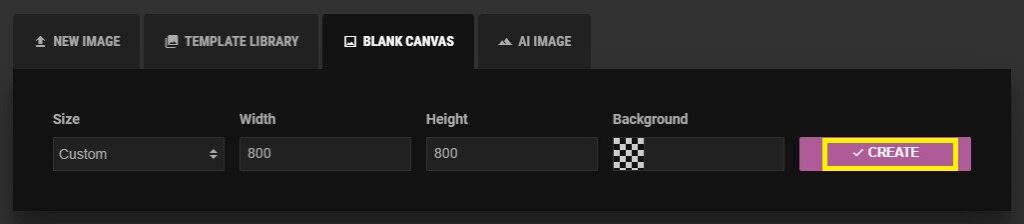
Step 2: Creating a Blank Canvas
Once you're in the Design Studio, you'll see four options. Select "Blank Canvas" and click the "Create" button.
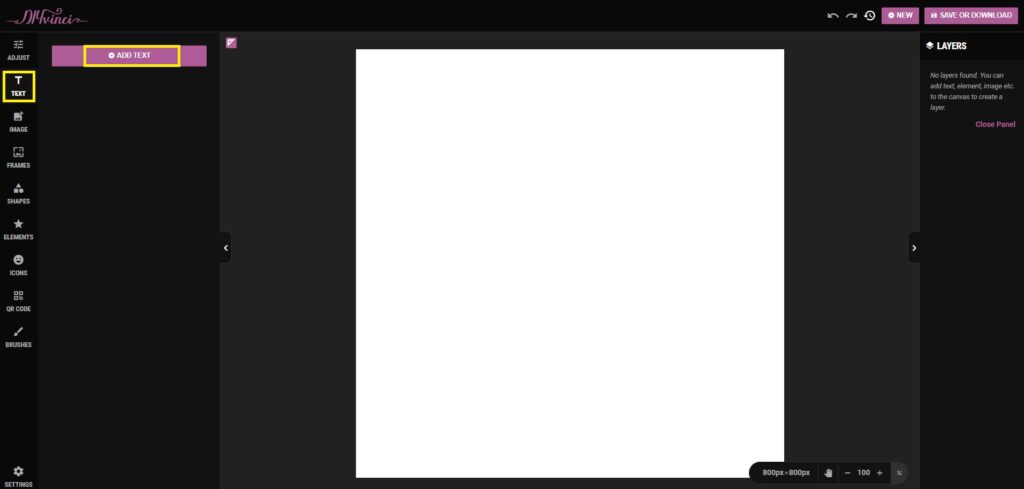
Step 3: Adding Text
On the left panel, you'll find icons. Choose "Text" and click "Add Text."
Step 4: Editing Text
After clicking "Add Text," you'll have access to text editing tools.
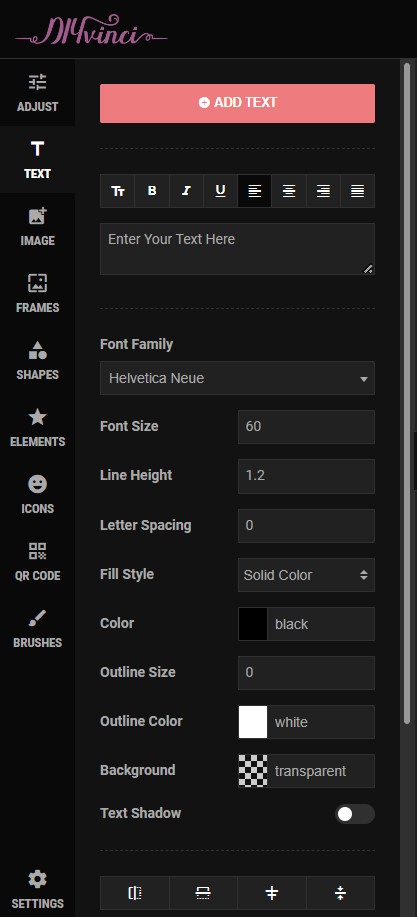
These tools are divided into three parts:
Part 1: Text Formatting Options
These options allow you to customize the appearance of your text. Here's a breakdown:
- Bold: Make selected text appear in a bold or thicker font style.
- Italic: Slant selected text to the right, creating an italicized appearance.
- Underline: Add a line beneath the selected text.
- Left: Align selected text to the left margin.
- Center: Align selected text in the center of the text box or document.
- Right: Align selected text to the right margin.
- Justify: Align text to both the left and right margins, creating even spacing between words.
- Tt (all caps): Transform selected text into capital letters.
After the text formatting options mentioned above, you'll see a box where you can type your text.

Part 2: Text Styling
Customize the appearance and presentation of text within your design:
- Font Family: Choose the typeface or font style.
- Font Size: Specify the text size in points, pixels, or other units.
- Line Height: Adjust vertical spacing between lines.
- Letter Spacing: Modify horizontal space between characters.
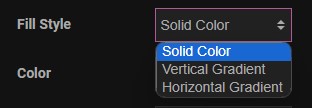
- Fill Style: Customize the interior of text characters with options like Solid Color, Vertical Gradient, and Horizontal Gradient
Color: Set the color of the text characters.

- Outline Size: Add a border or outline around text characters.
- Outline Color: Define the color of the outline.

Background: Set a background color behind the text.

Text Shadow: Add a shadow effect to text.
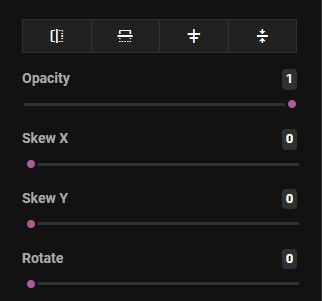
Part 3: Transformation Options
Modify the position, orientation, and appearance of text:
- Flip X: Horizontally flip or mirror text.
- Flip Y: Vertically flip or mirror text.
- H-align Center: Horizontally center-align text.
- V-align Center: Vertically center-align text.
- Opacity: Adjust transparency.
- Skew X: Apply horizontal skew.
- Skew Y: Apply vertical skew.
- Rotate: Rotate text.
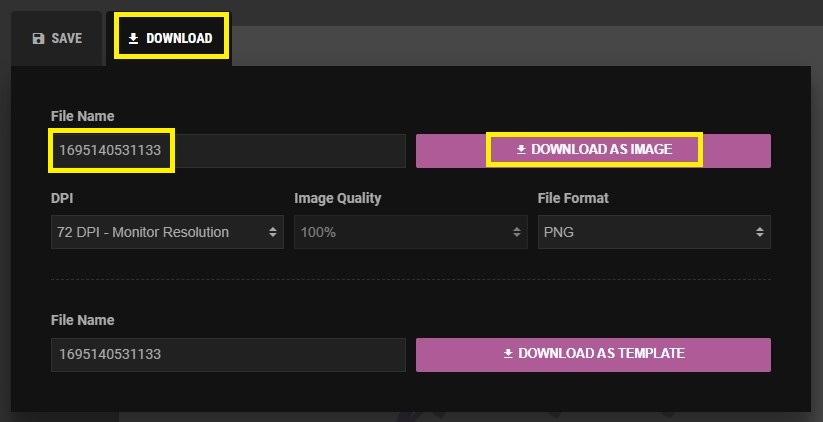
Step 5: Saving or Downloading
Once you've added and edited your text to your satisfaction, go to the top right of the screen. Click the "Save or Download" button.

Choose from two options:
Save: Select the "Save" tab, change the file name if needed, and click "Save as Image" to store your design.
-RlN5uDoh.jpg)
Download: Choose the "Download" tab, modify the file name if necessary, and click "Download as Image" to save your design to your device.
Congratulations! You've achieved success in incorporating and refining text within Diyvinci Design Studio, infusing your designs with a personalized and professional flair. If you have any questions, don't hesitate to reach out to us. We're here to assist you every step of the way!