The Live Chat feature on DIYvinci allows you to connect and communicate with your friends and contacts within the DIYvinci community. Here's a step-by-step guide on how to use Live Chat effectively:
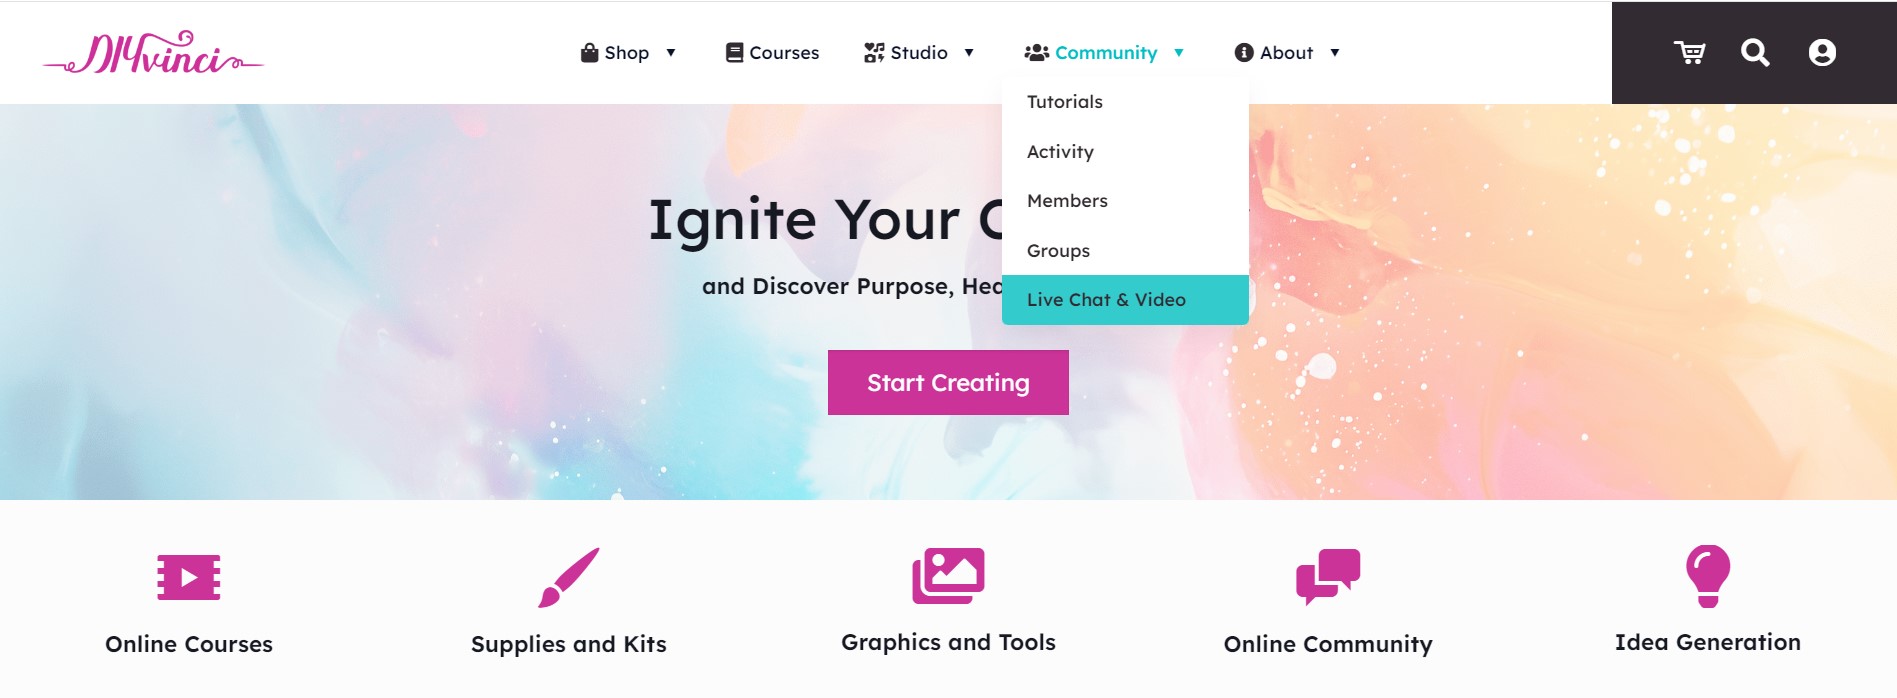
1. Accessing the Live Chat:
If you are on the DIYvinci website, hover over "Community" at the top and select "Live Chat & Video."
Alternatively, if you are on your profile account, hover over "Community" and select "Live Chat."

Upon selecting Live Chat, you will be directed to the Live Chat page, where you can start chatting with your friends.
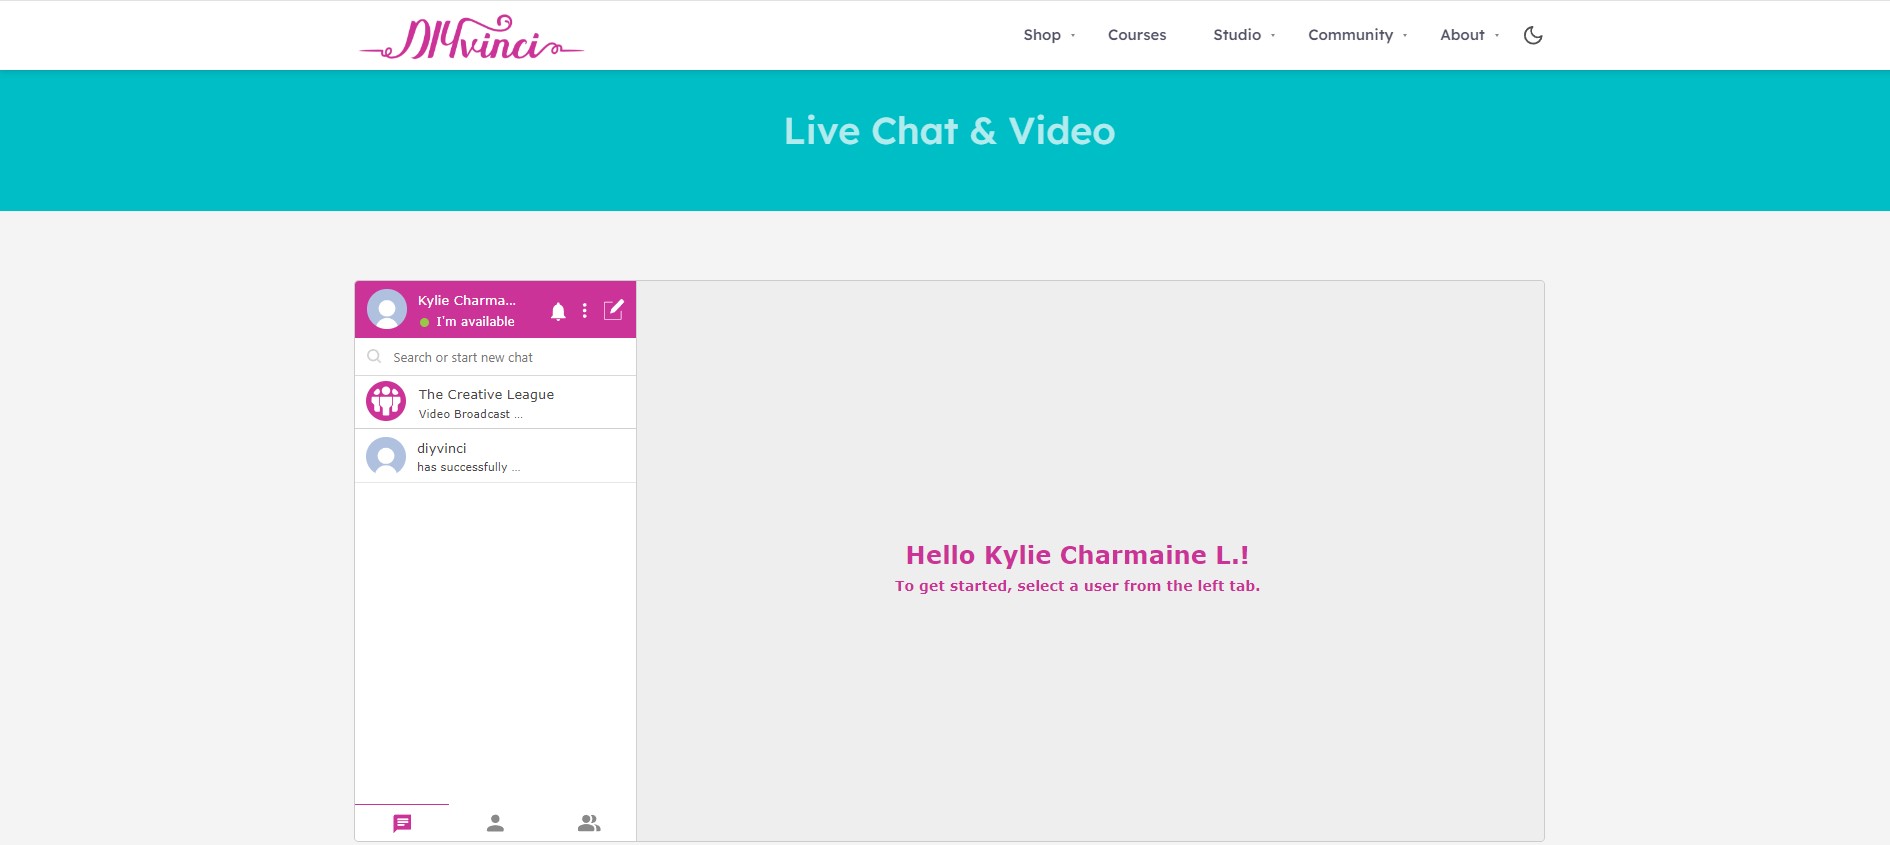
2. Understanding the Live Chat Panel
On the left side of the Live Chat page, you will find a panel with various icons and features. Here's a breakdown of these icons and their functions:
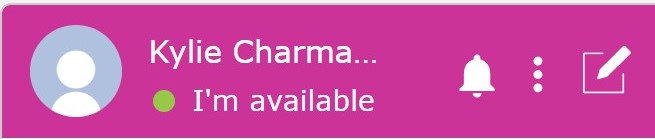
- Profile Picture and Status: At the top, you'll see your profile picture and your online status.
- Bell Icon: This icon is for announcements and notifications.
- Three Dots Icon: Clicking this opens the settings menu.
- Compose Icon: Use this icon to start a new message or conversation.
5. Search Bar: Manually type the name of the person you want to chat with.

6. Icons at the Bottom: There are three icons at the bottom of the left panel.
- Recent: This icon represents recent chats and conversations.

- Contacts: Shows your list of contacts.

- Groups: Allows you to access group chats.

3. Initiating a Chat
To start a chat with a friend, under the Contacts section, select the friend you want to chat with. Once you click on their name, a message box will appear.

4. Message Box Options:
At the top left corner of the message box, you’ll see four icons:
- Video Icon: Start an audio/video call with your friend.
- Phone Icon: Start an audio call with your friend.
- Three Dots: Access options such as viewing profiles, blocking users, viewing chat history, and saving conversations.
- Close (X) Button: Close the chat conversation.
5. Message box features:
At the bottom left corner of the message box, click the arrow icon to reveal eight additional icons:
- Start an audio/video broadcast: Initiate a live audio/video broadcast with your friend.
- Share my screen: Share your screen with your friend.
- Send a sticker: Send a sticker in the chat.
- Write in your language: Type in your preferred language.
- Voice note: Record and send a voice message.
- Share a whiteboard: Collaboratively draw and share ideas on a digital whiteboard.
- Collaborative document: Collaborate on a document in real-time.
- Share your location: Share your current location with your friend.

6. Attaching Files, Messages and Adding Emojis:
Beside the arrow icon, there is a paper clip icon. Clicking on it allows you to attach files to your chat. Type your message in the box provided.
On the bottom right corner of the message box, there is a smiley icon. Clicking on it opens a selection of emojis that you can add to your message.

7. Sending Messages:
Once you have attached files (if necessary), typed your message, and added an emoji, press Enter to send the message.
Congratulations! You now know how to utilize the Live Chat feature on DIYvinci to connect with your friends and contacts. If you have any questions or need assistance, don't hesitate to contact us.