Rulers and guides are essential tools in DIYvinci Design Studio, enabling you to maintain precision and alignment in your creative projects. This guide will provide step-by-step instructions on how to effectively use rulers and guides, helping you enhance your design skills and achieve professional results.
Accessing DIYvinci Design Studio
If you are on the diyvinci.com website, hover over "Studio" at the top and select "Design Studio."

Alternatively, if you are in your profile, navigate to "Studio" and select "Design Studio."

Creating a Blank Canvas:
After entering the Design Studio, you'll encounter four tabs. Select "Blank Canvas." Click the "Create" button to initiate your new project.

Modifying Ruler and Guide Settings:
Once you're inside the studio, locate the left panel. To modify the ruler and guide settings, click the settings icon (represented as a gear).
1. Customizing Ruler Guide Color:
Inside settings, select "Ruler Guide Color" and choose a color from the palette.
Tip: Customizing colors helps distinguish guides from design elements, especially in complex layouts.
2. Adjusting Ruler Guide Size:
In settings, find "Ruler Guide Size" and modify it by sliding or dragging.
Tip: Changing guide size offers precise control over alignment and spacing
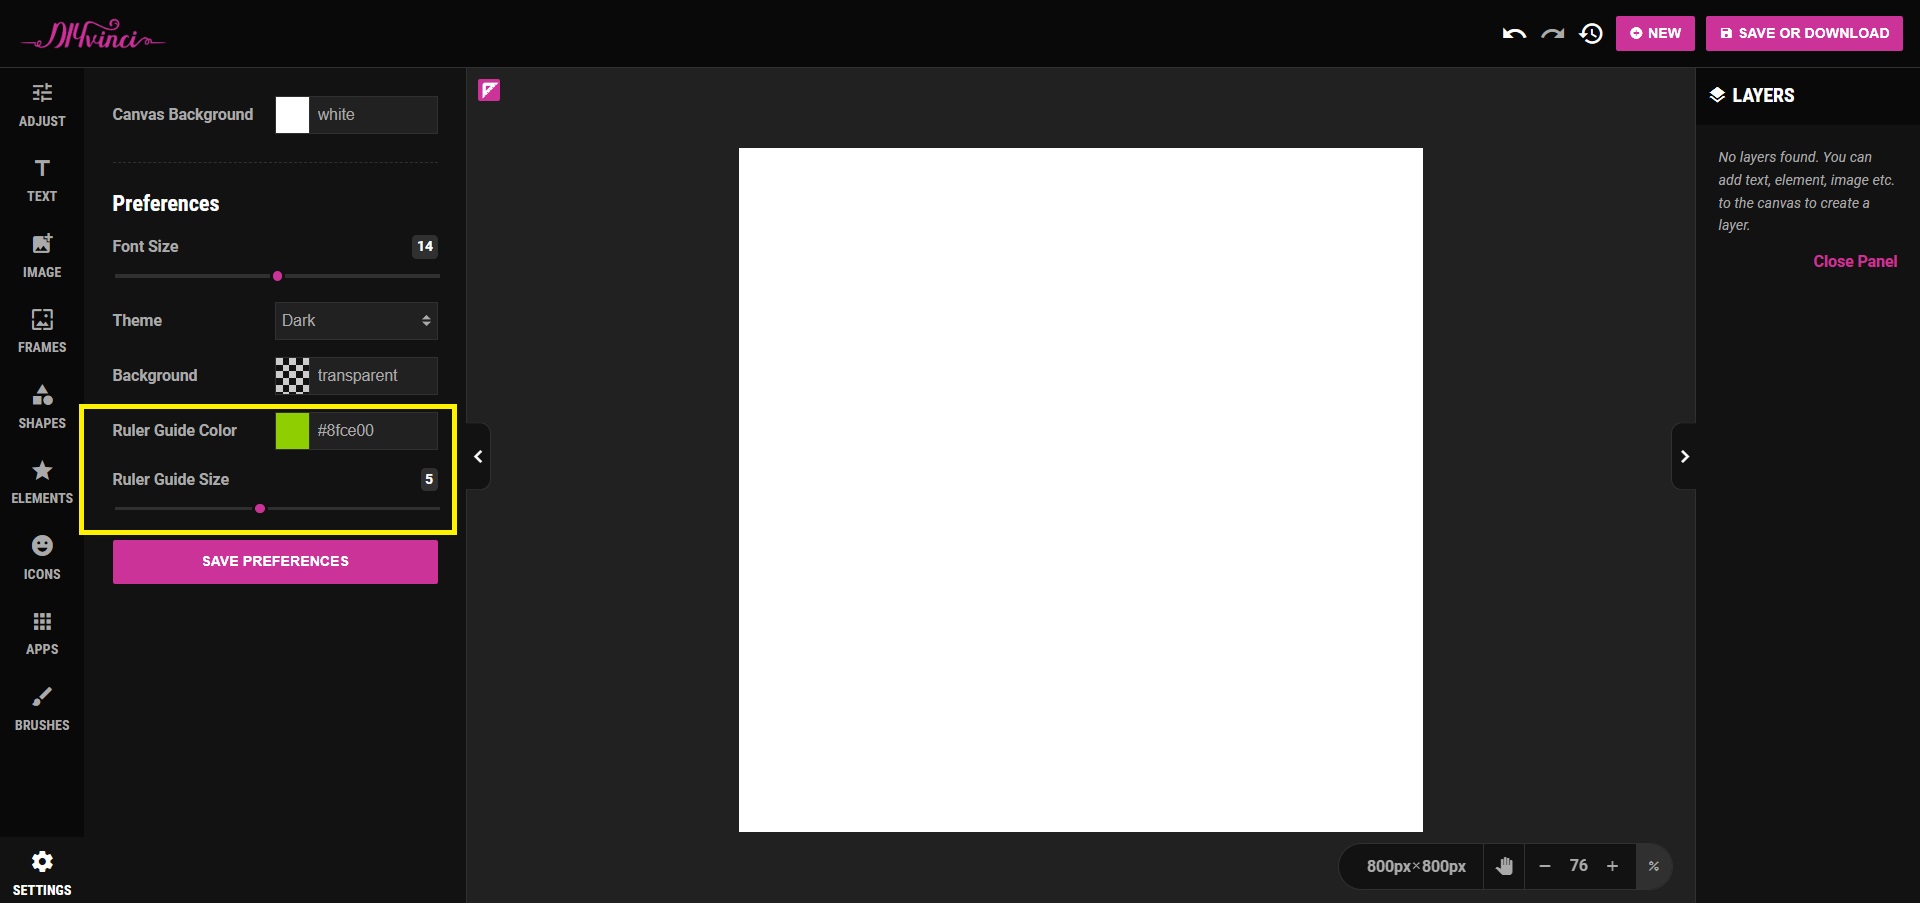
3. Saving Preferences
After making adjustments to the ruler and guide settings, click the “Save Preferences” button to apply your changes.

Utilizing Rulers & Guides
1. Accessing the Ruler Menu
To access the Ruler Menu, in the upper-left corner, you’ll find a small pink box representing the Ruler Menu, located next to the “Adjust” icon. Click this box to reveal several options.
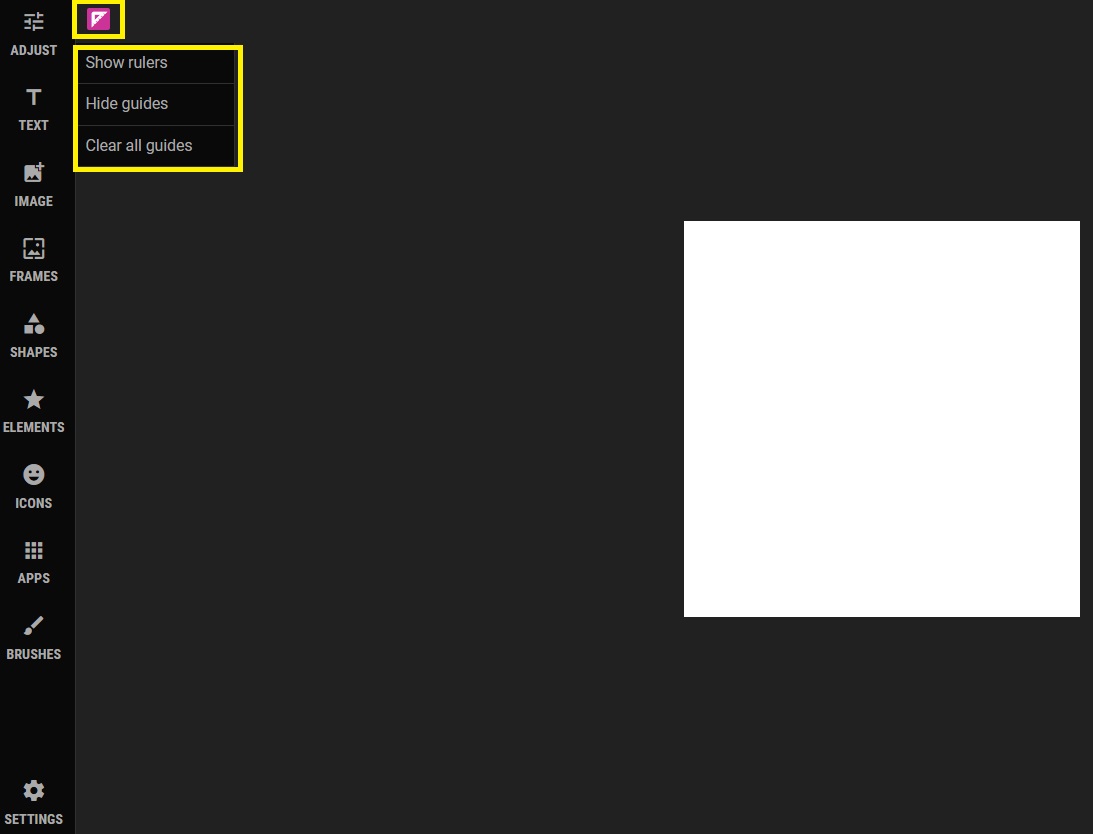
2. Ruler Menu Option
The Ruler Menu offers the following options:
- Show Rulers: Display rulers along the top and left sides of your canvas for precise positioning.
- Hide Guides: Temporarily remove visible guides to work without distractions.
- Clear All Guides: Remove all guides from your canvas for a fresh start.
Using Rulers
1. Horizontal Ruler: Positioned at the top of your workspace, providing measurements from left to right. To set a guide on the horizontal ruler, simply click and drag from the ruler onto your canvas.

2. Vertical Ruler: Situated on the left side of your workspace, offering measurements from top to bottom. Create a guide on the vertical ruler by clicking and dragging from the ruler onto your canvas.

3. Moving Rulers: Reposition rulers by clicking and dragging them to your desired location on the canvas.
Working with Guides
1. Creating Guides: To establish a guide, click and drag from either the horizontal or vertical ruler onto your canvas. A guide line will appear, enabling precise alignment of objects or elements.

2. Snapping to Guides: As you move objects or elements on your canvas, they will automatically snap to the guides, ensuring impeccable alignment.
By following these instructions, you can effectively harness the power of rulers and guides in DIYvinci Design Studio to create designs that are precise and impeccably aligned. These tools will enhance your workflow and enable you to achieve professional-level results. Experiment with them to unlock new possibilities in your creative projects. If you have questions or need assistance, please do not hesitate to reach out to us! Happy designing!