Layers are a crucial feature in DIYvinci Design Studio that allow you to organize and manipulate elements within your design. This guide will walk you through the step-by-step process of using layers in DIYvinci Design Studio to help you create stunning visuals with ease.
Step 1: Access DIYvinci Design Studio
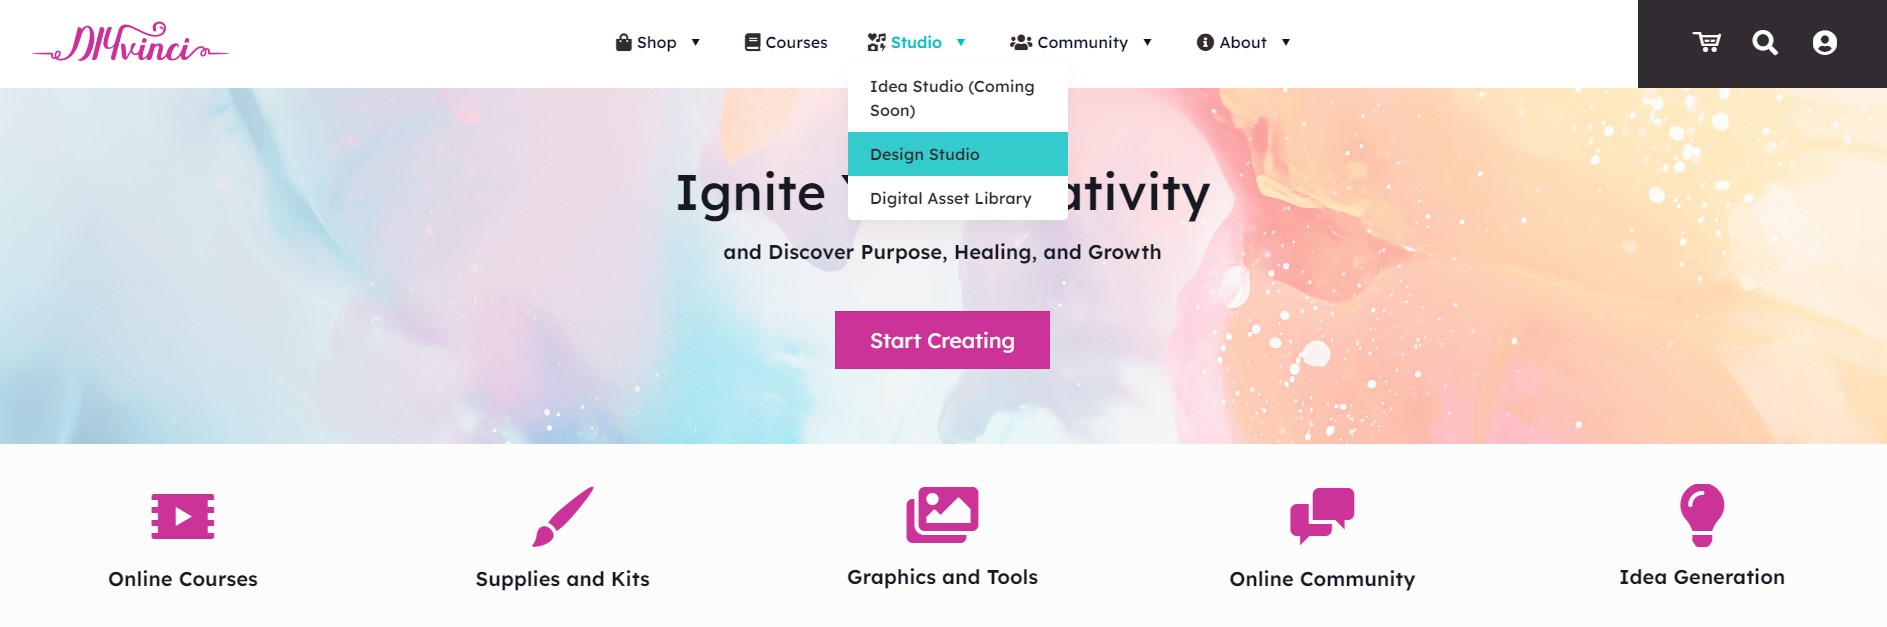
If you are on the diyvinci.com website, hover over "Studio" at the top and select "Design Studio."
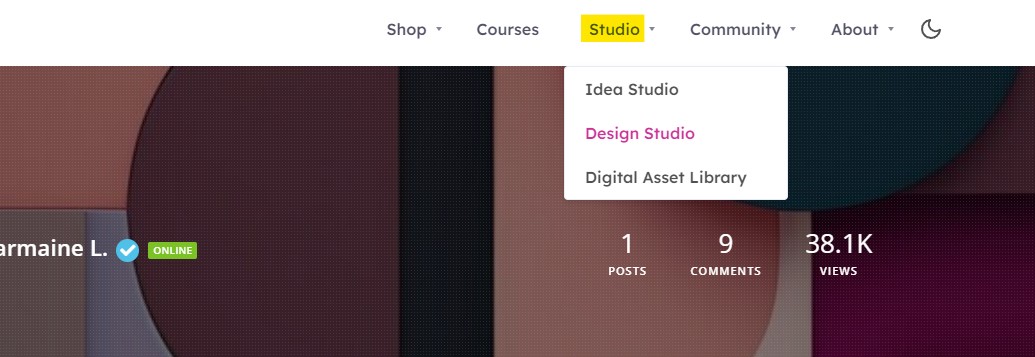
Alternatively, if you are on your profile account, hover over the options at the top and select "Studio," then choose "Design Studio."
Step 2: Create a Blank Canvas
Once you're in the Design Studio, you'll see four options. Select "Blank Canvas" and click the "Create" button.


Step 3: Access the Layers Panel
After entering the Design Studio, you'll find the Layers panel on the right side.

Step 4: Add Elements to the Canvas
Initially, you won't see any layers in the Layers panel. Layers will only appear once you have added text, elements, images, etc., to the canvas.
As you add elements, they will automatically appear in your Layers panel.

Step 5: Renaming Layers
To make it easier to identify and manage your layers, you can rename them. Simply click on the layer name in the Layers panel, type the new name, and press Enter.
Step 6: Layer Settings
For each layer, you will find a settings icon (represented by a gear). When you click this icon, you will see four options:
- Lock icon: This allows you to lock or unlock the selected layer. Locking a layer prevents accidental editing of its contents.
- Duplicate icon: Use this option to create a copy or replicate the selected layer. It’s useful for making copies of elements within your design.
- Hiding icon: Clicking this icon will hide the layer, making it temporarily invisible on the canvas. Hiding layers can be helpful when you want to focus on specific elements.
- "X" or close icon: This icon allows you to delete the selected layer.

Step 7: Reorder Layers
To change the order of layers and control which elements appear on top of others:
- Select the layer you want to move.
- Drag and drop it to the desired position in the Layers panel.
Step 8: Deleting Layers
At the bottom of the Layers panel, you will find options to delete layers. You can choose to delete all layers or a specific type of layer (e.g., image, text).

Follow these steps:
- Click the drop-down arrow to select the type of layer you want to delete.
- After selecting the layer type, click the delete icon to remove the chosen layer(s).

Congratulations! You now have a solid understanding of how to use layers in DIYvinci Design Studio. This knowledge will help you organize, edit, and control elements within your design projects effectively. If you have any questions or concerns, please don't hesitate to reach out to us. Thank you for choosing DIYvinci Design Studio!