Icons can add visual appeal and functionality to your designs in DIYvinci Design Studio. Follow these steps to learn how to use icons effectively:
1. Access the Design Studio:
If you are on the DIYvinci website, hover over "Studio" in the navigation menu and select "Design Studio."
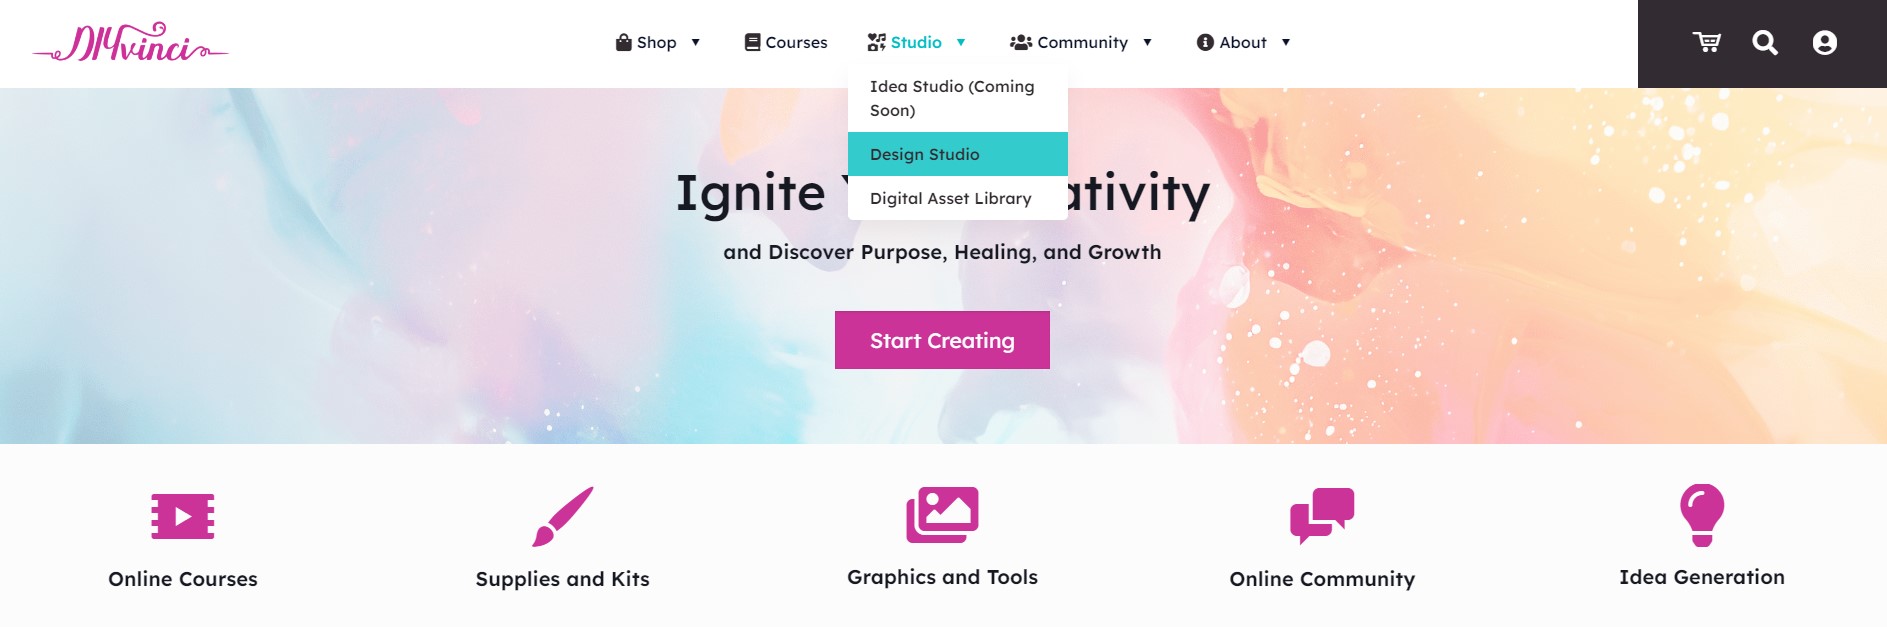
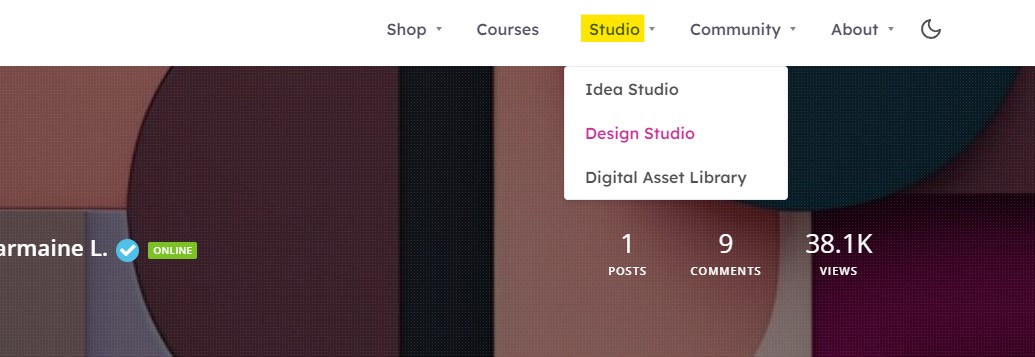
Alternatively, if you are on your profile page, hover over "Studio" at the top and choose "Design Studio."
2. Create a New Canvas:
Once in the Design Studio, you'll see four options. Click "Blank Canvas" and then hit the "Create" button to open a new canvas where you can start your design.

3. Access the Icons:
On the left panel of the canvas, you'll find various icons and tools. To access icons, select the "Icons" icon.
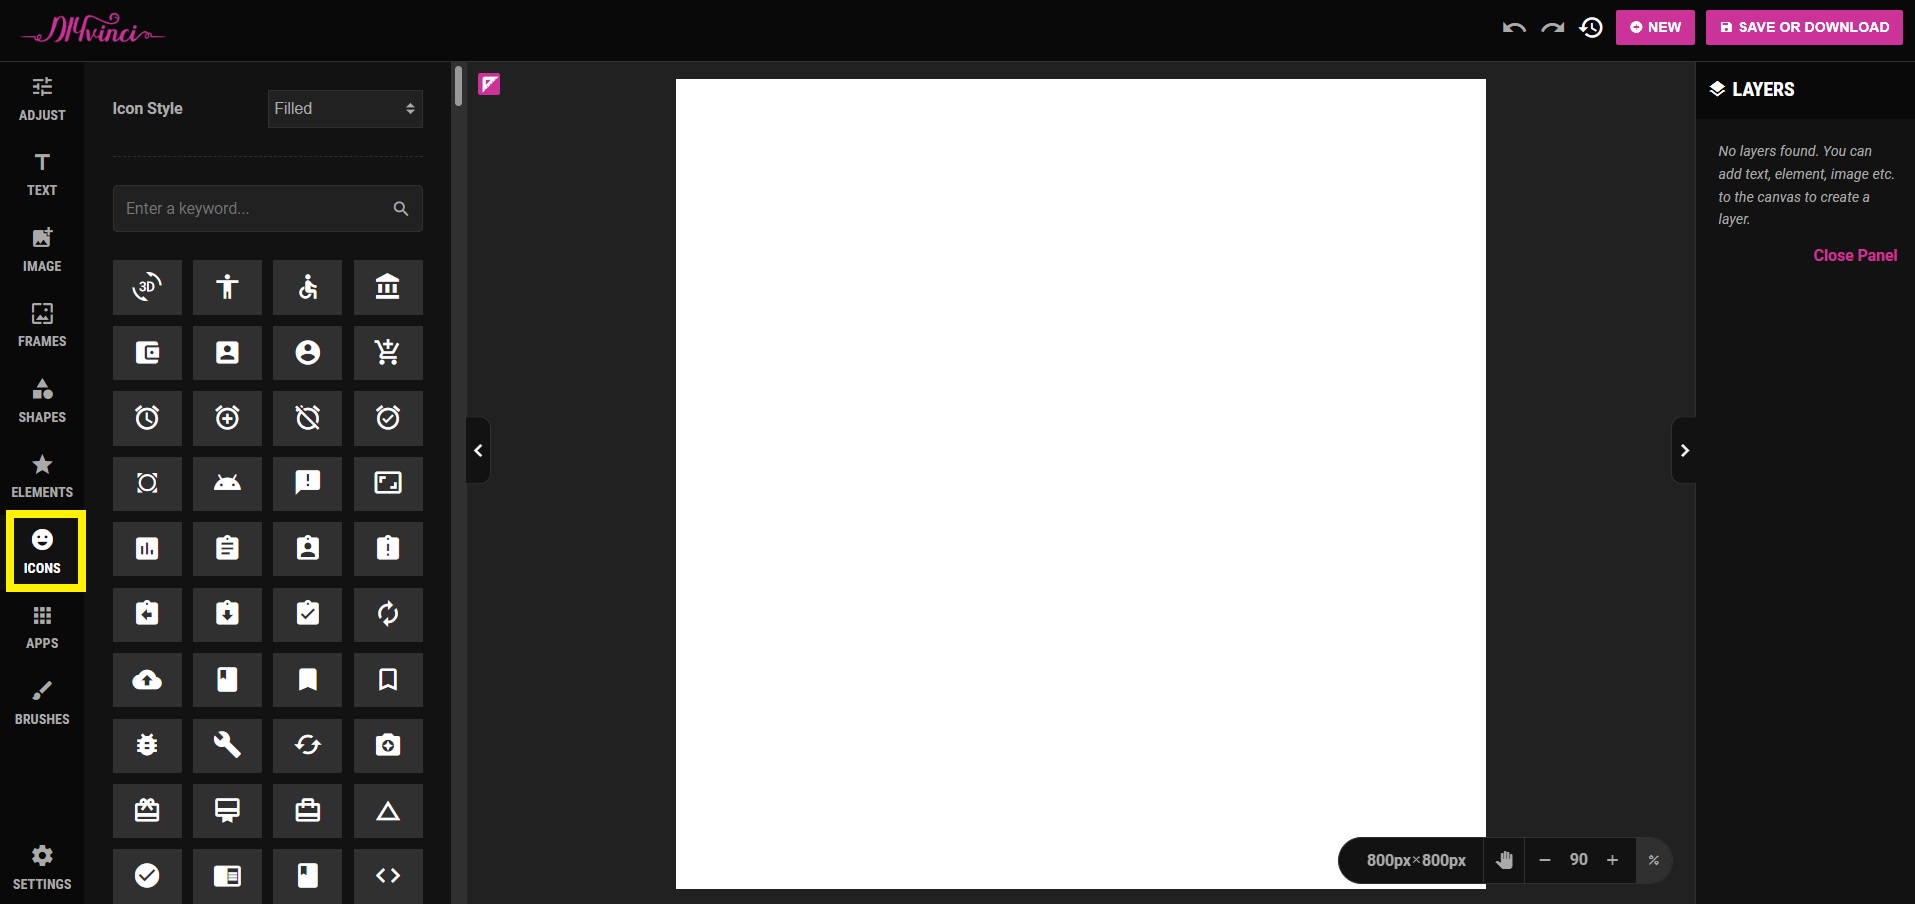
4. Choose Icon Style:
- Clicking the "Icons" icon will open a menu showing different icon styles and available icons.
- Under "Icon Styles," you have three options to choose from:
- Filled – These icons have solid colors filled within them, providing a complete and vibrant look.
- Outlined – These icons have only the outer shape outlined, giving them a more minimalistic appearance.
- Round – These icons are designed with a circular background, offering a unique style.

5. Search for Icons:
Below the Icon Styles, there's a search box. Enter a keyword to find the specific icon you want. This makes the selection process quicker and easier.

6. Select an Icon:
Below the search box, you'll see a collection of icons available in the Design Studio. Simply select the icon that fits your design.

7. Configure Icon Settings:
After clicking an icon, a settings panel will appear.

Here, you can customize various attributes, including:
7.1. Fill Style – Choose from a solid color, vertical gradient, or horizontal gradient to define how the icon is filled.

7.2. Fill Color – Select from a range of colors to determine the icon's appearance.

7.3. Shadow – Enable a shadow effect for the icon and adjust the following options:
- Shadow Color - Pick from various shadow colors to complement your design.
- Shadow Blur - Control the blurriness of the shadow effect.
- Offset X - Set the horizontal position of the shadow.
- Offset Y - Define the vertical position of the shadow.

7.4. Flip X – Flip the icon horizontally for a different perspective.
7.5. Flip Y – Flip the icon vertically to change its orientation.
7.6. H-Align Center – Horizontally align the icon to the center of the canvas.
7.7. V-Align Center – Vertically align the icon to the center of the canvas.

7.8. Opacity – Adjust the transparency of the icon to control its visibility.
7.9. Skew X – Apply horizontal skew to create a unique visual effect.
7.10. Skew Y – Apply vertical skew to modify the icon's appearance.
7.11. Rotate – Rotate the icon to your desired angle.

8. Save or Download Your Project:
When your project is complete, go to the upper left of the screen and locate the "Save or Download" button.

To save your project, navigate to the "Save" tab, change the file name if desired, and click "Save as Image."

To download your project, go to the "Download" tab, change the file name if needed, and click "Download as Image."

Congratulations! You've now mastered the art of using icons in DIYvinci Design Studio. If you ever need assistance or have questions, feel free to reach out to us. We're here to help!