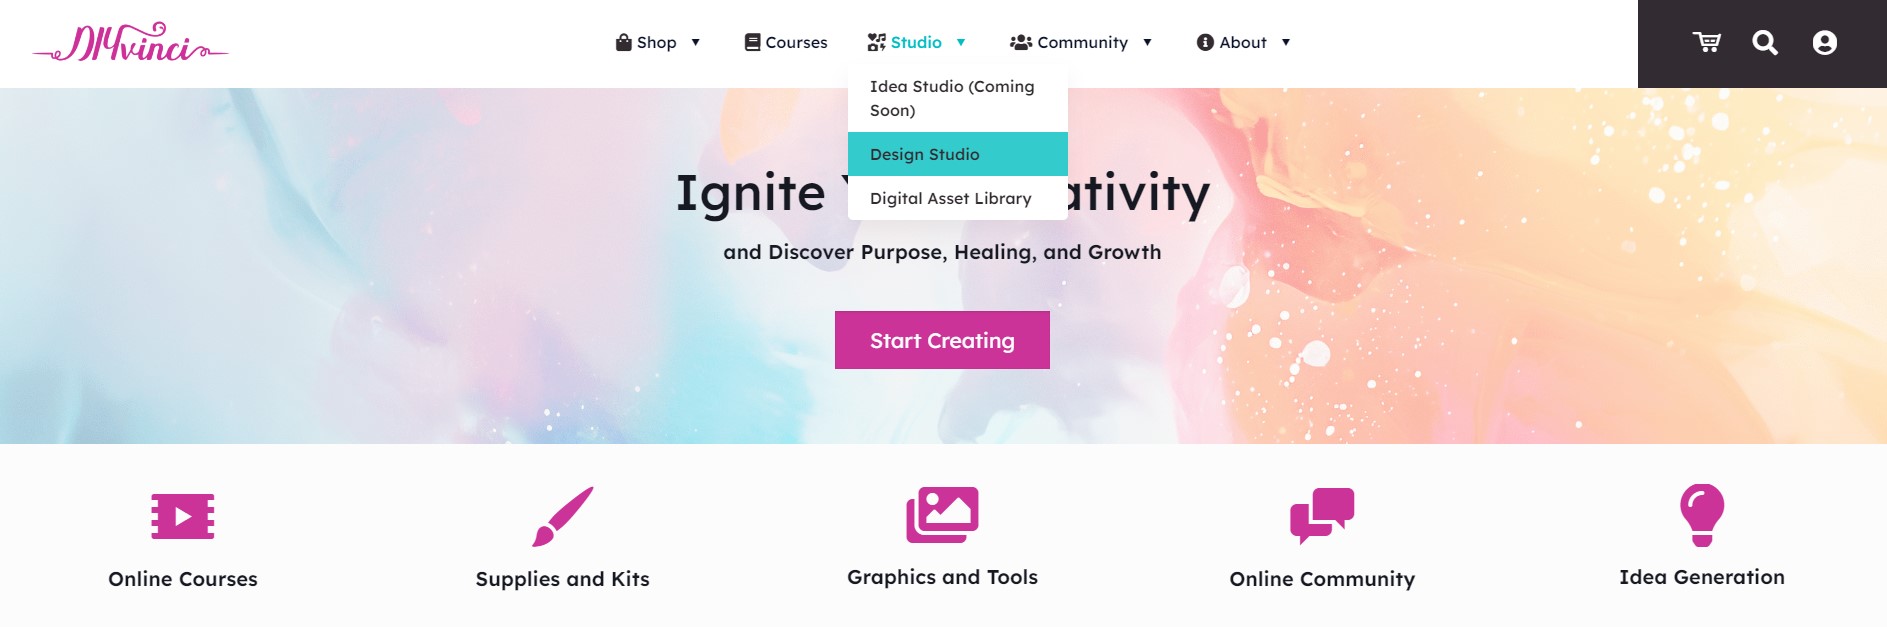
Accessing DIYvinci Design Studio
If you are on the DIYvinci website, hover over “Studio” and select “Design Studio.”
Alternatively, if you are on your profile, hover over "Studio" on the top and select "Design Studio."

Creating a New Canvas
Once you are in the Design Studio, you will see four options. Click "Blank Canvas" and then hit the "Create" button. You will be redirected to a new canvas where you can start your design.

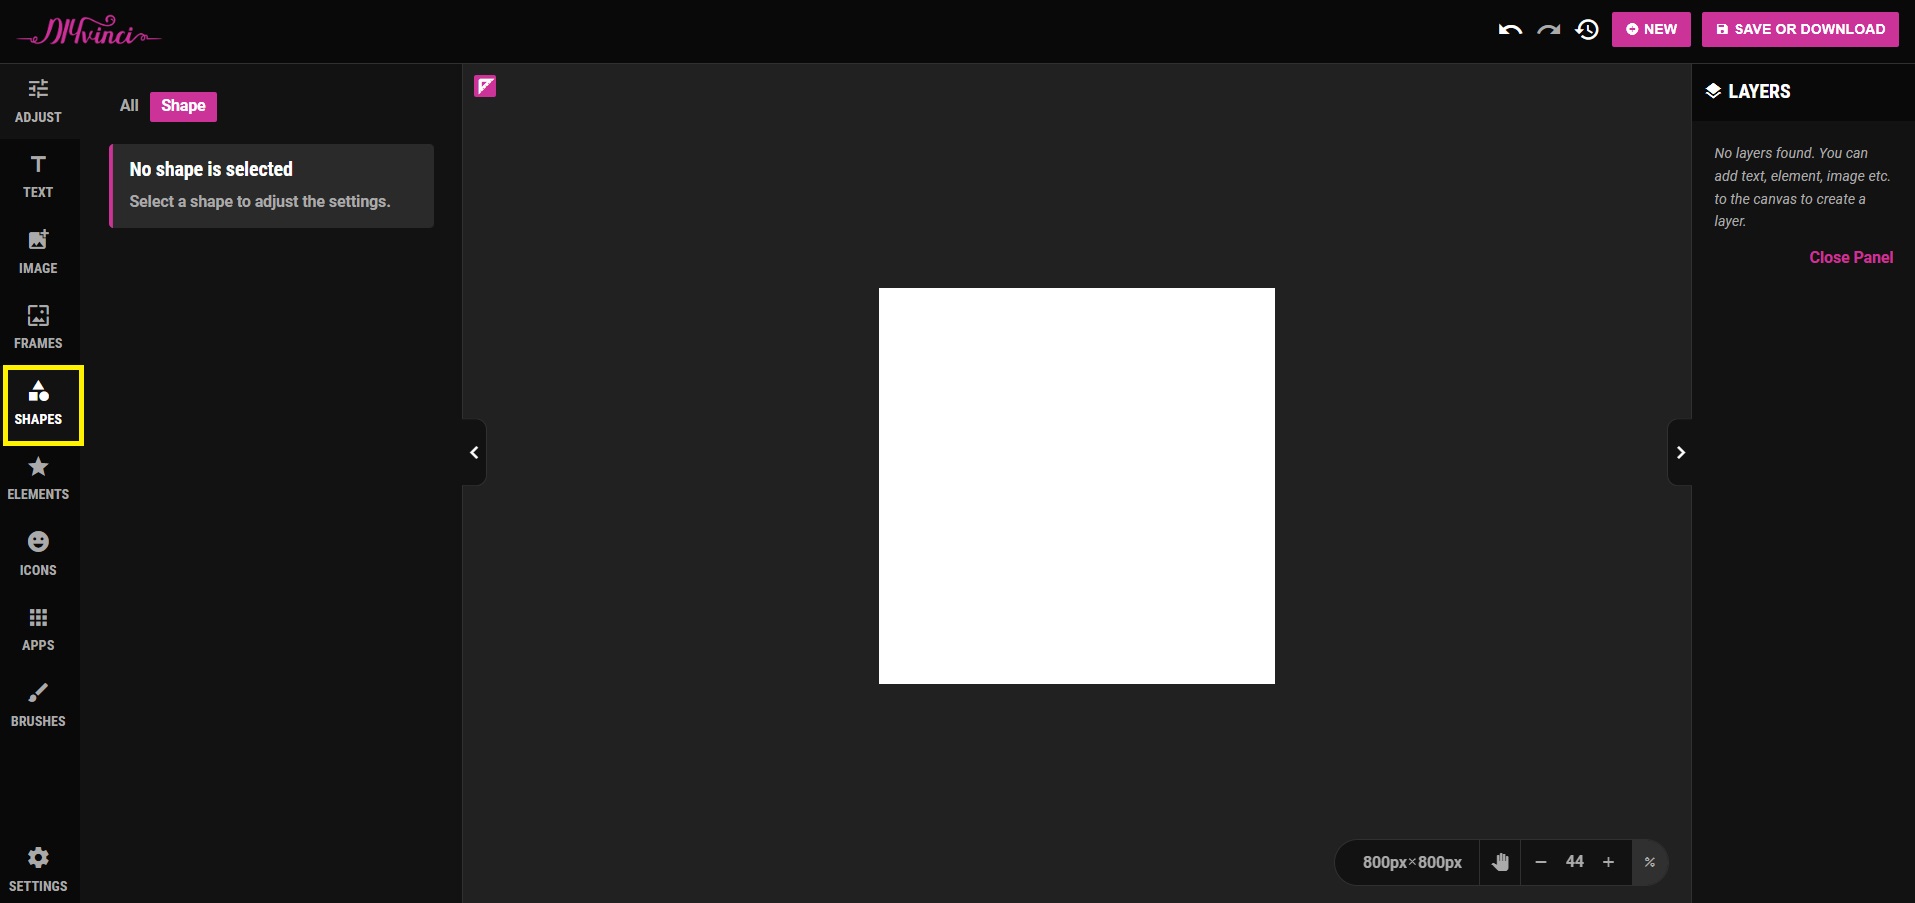
Using Shapes
On the left panel of the canvas, you will find various icons and tools. To use shapes, select the 'Shapes' icon. Click on 'All' to see a variety of shapes to choose from.

Customizing Shapes
After adding a shape to your canvas, you can customize it using the following Shape Styling tools:

a. Fill Style: This tool provides several styles to choose from, allowing you to customize how the shape appears within its boundaries. Experiment with different styles to achieve the desired look.

b. Fill Color: Select from a range of colors to fill your shape with the color that suits your design. This tool enables you to infuse vibrant colors into your project.

c. Outline Size: Adjust the outline size to control the thickness or size of the shape's boundary. This helps in defining the shape's appearance.
d. Outline Color: Choose from a variety of colors to define the outline of your shape. This tool allows you to make the shape stand out or blend seamlessly with your design.

e. Shadow: Add shadow effects to your shape to create a three-dimensional look or add depth to your design.
Shape Transformations
You can further modify your shapes with the following transformations:
a. Horizontal Align Center: Use this tool to horizontally align the selected shape to the center of your canvas or relative to other elements. It ensures precise positioning.
b. Vertical Align Center: This tool vertically aligns the selected shape to the center of your canvas or relative to other elements, ensuring balanced compositions.

c. Opacity: Adjust the transparency of the shape using the "Opacity" tool. This allows you to control the visibility of the shape and create layered effects.
d. Skew X and Skew Y: Apply skew transformations to the shape to create unique visual effects. These tools allow you to warp and distort the shape along the X and Y axes.
e. Rotate: Rotate the shape to achieve different angles and orientations. Use this tool to add dynamic elements to your design.

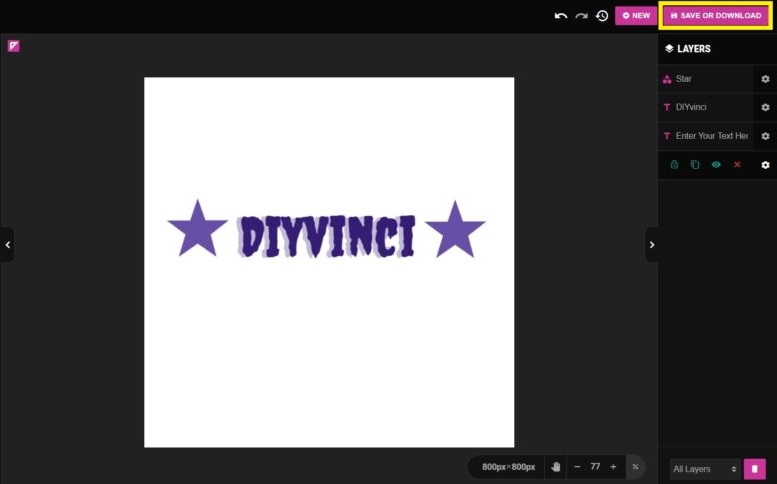
Saving and Downloading Your Project
When your project is complete, go to the upper left of the screen. Locate the “Save or Download” button.
To save your project, navigate to the “Save” tab, change the file name if desired, and click “Save as Image.”

To download your project, go to the “Download” tab, change the file name if needed, and click “Download as Image.”

Congratulations! You've learned how to use shapes in DIYvinci Design Studio to enhance your creative projects. Shapes offer structure, style, and endless creative possibilities. If you need assistance or have any questions, please do not hesitate to reach out to us. We are here to help you unleash your creativity and achieve your design goals. Thank you for choosing DIYvinci Design Studio!