At DIYvinci, you have the exciting opportunity to create and manage your own groups, fostering connections among like minded individuals and enhancing your creative experience. Please note that group creation is exclusive to DIYvinci Pro members. Here's a step-by-step guide to assist you in navigating the group settings and creating your very own DIYvinci group.
1. Accessing Groups:
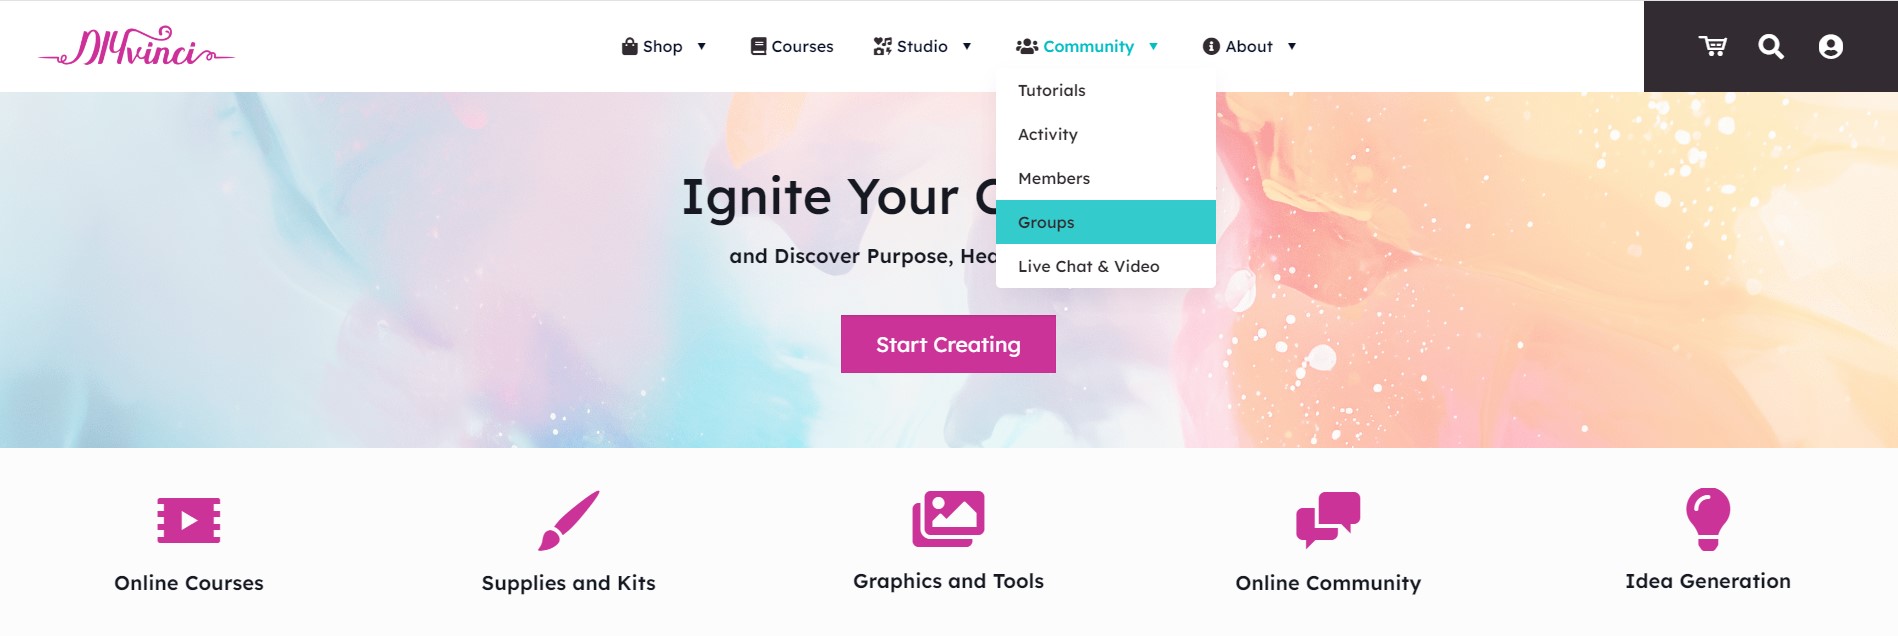
If you're on the DIYvinci website (diyvinci.com), hover your cursor over "COMMUNITY" at the top of the website and select "Groups."
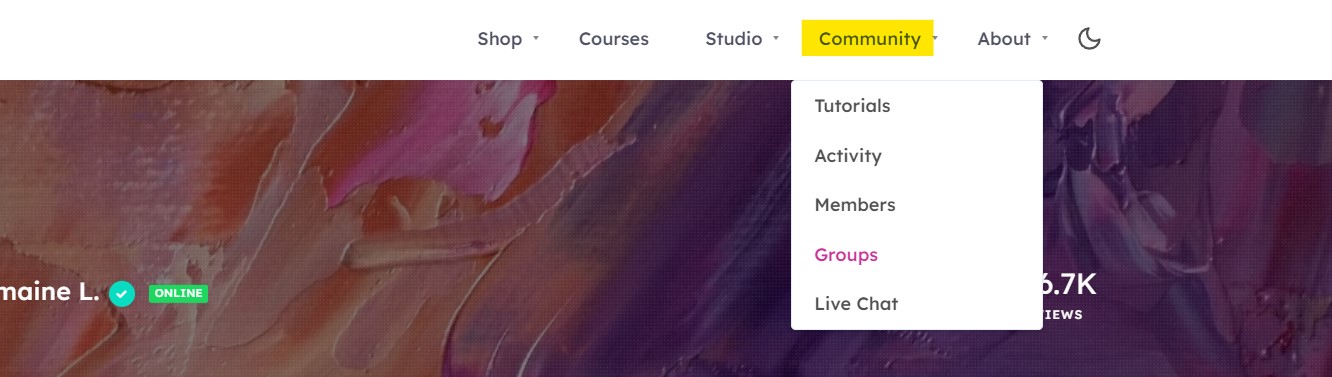
Alternatively, if you're on your profile page, you'll also find "COMMUNITY" at the top; hover over it and select "Groups."
2. Groups Directory:
After clicking "Groups," you'll be directed to the Groups Directory. Here, you can discover existing groups or create your own.
Utilize the search box to find specific groups on DIYvinci.
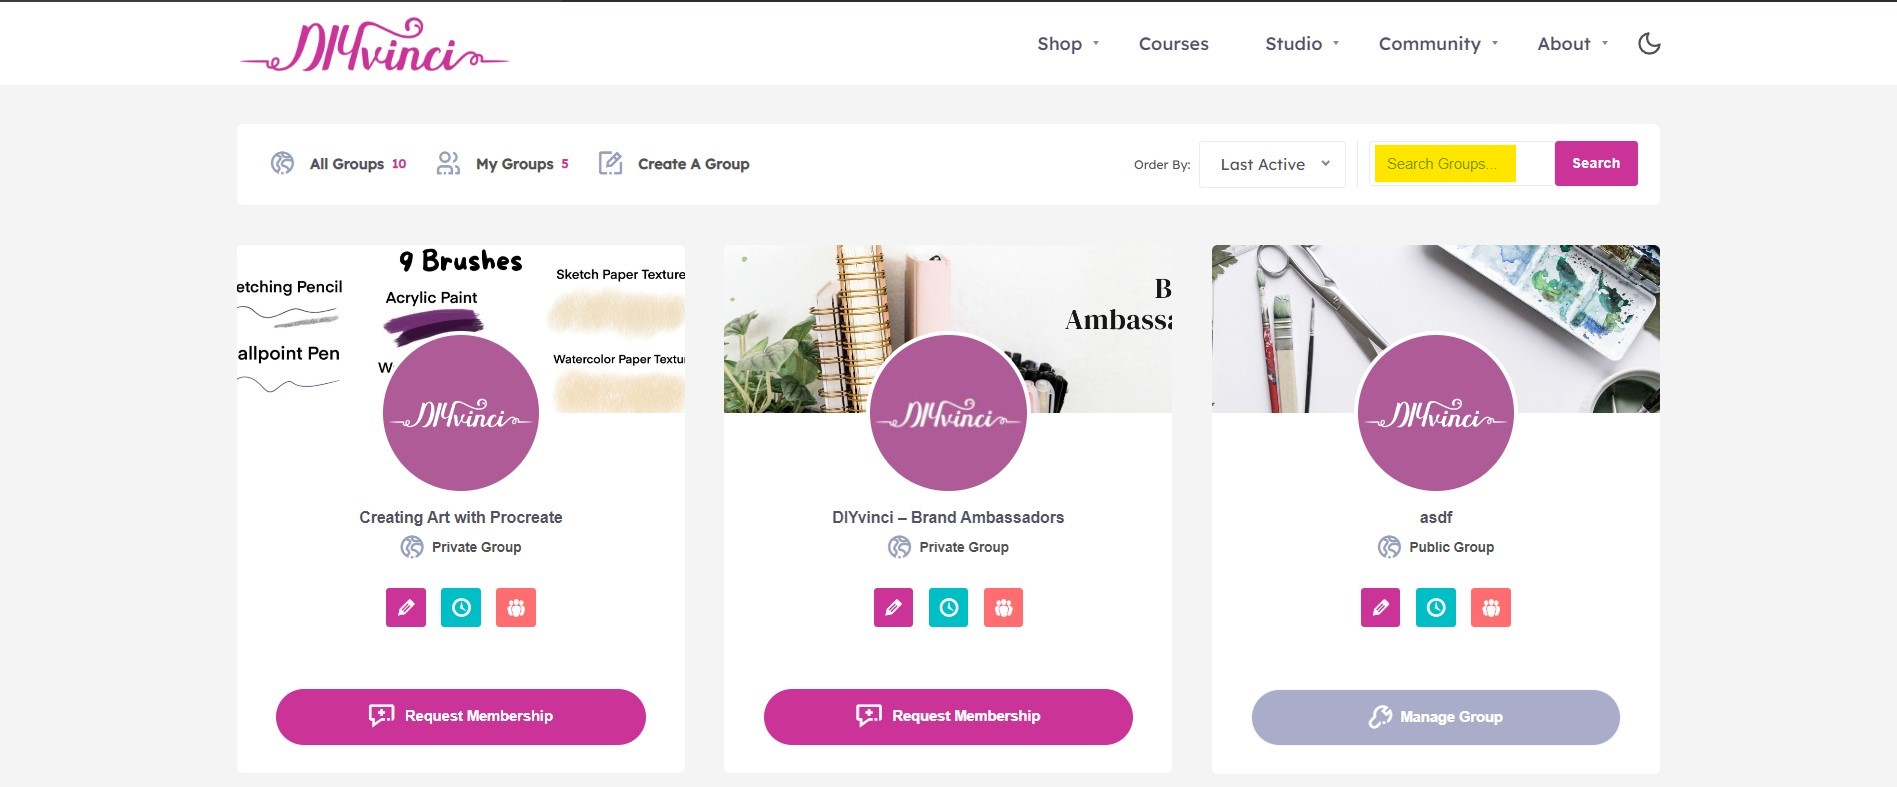
Below the search box, you'll see three icons: "All Groups", "My Groups", and "Create a Group."
"All Groups" lists all available groups on DIYvinci.

"My Groups" lists all the groups you are currently a member of on DIYvinci.

To create your own group, select the "Create a Group" icon.

3. Creating Your Group:
You'll be directed to a page with five steps.
Step 1: Details
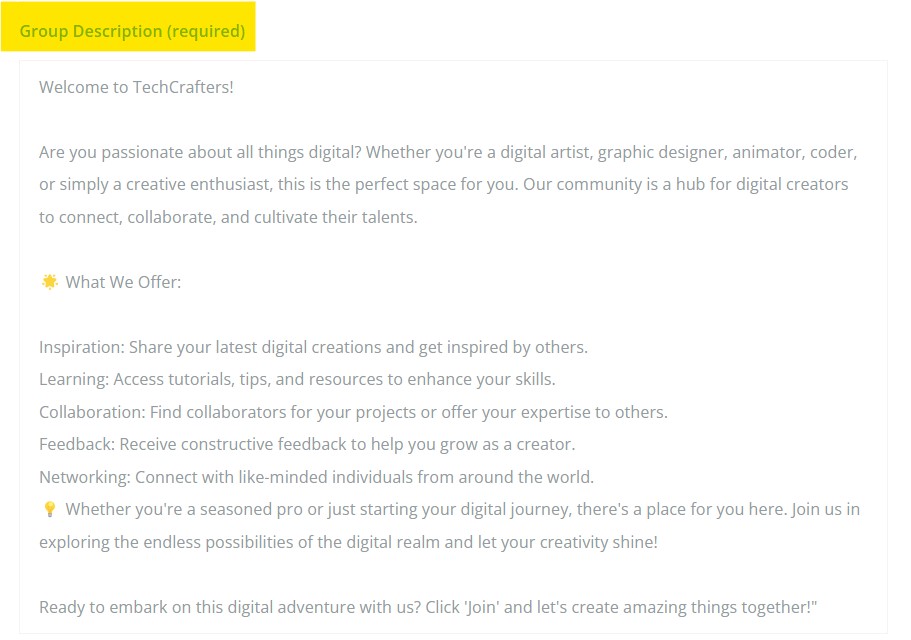
Fill out the group name and group description.
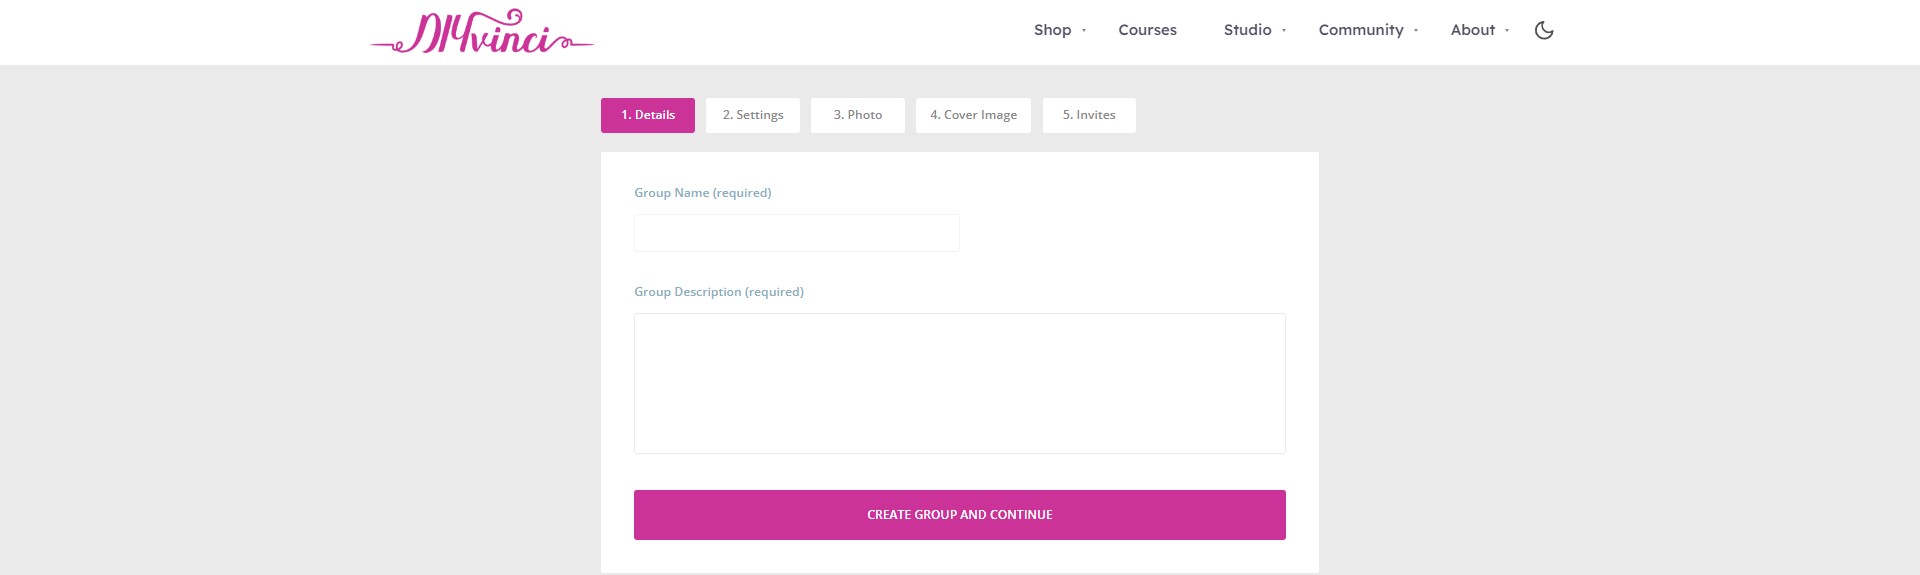
Group Name: Enter your desired group name.

Group Description: Write a brief description or a welcoming message for your group members.
Click the "Create Group and Continue" button when finished.

Step 2: Settings
Under Settings, you'll find Privacy Options and Group Invitations.
Privacy Options: Select whether your group should be public, private, or hidden.
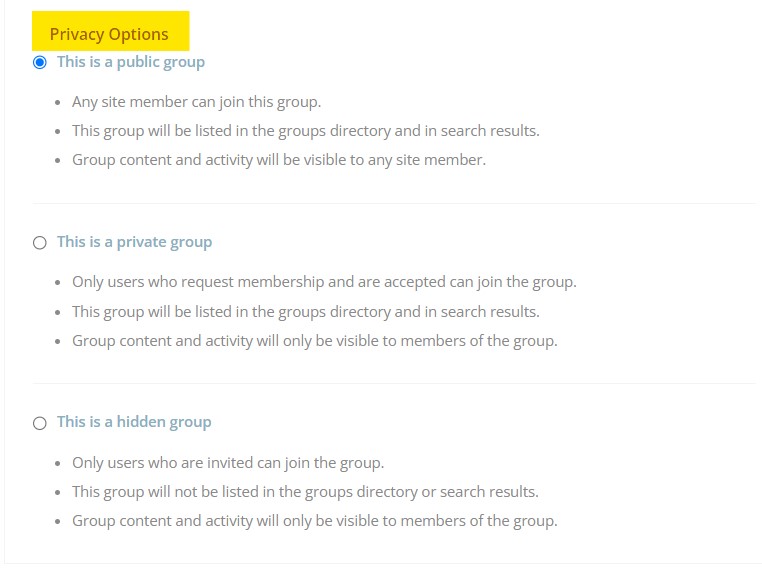
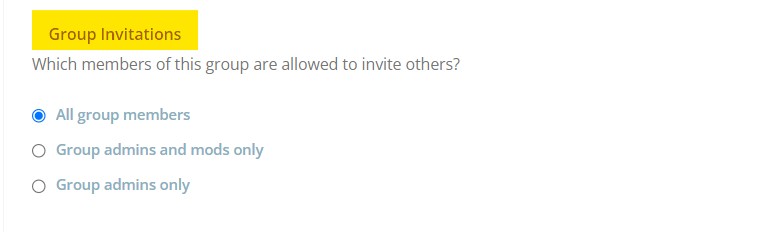
Group Invitations: Choose who can invite others to the group - all members, only admins and moderators, or just admins
Click the "Next Step" button to proceed or "Back to Previous Step" if you want to go back.
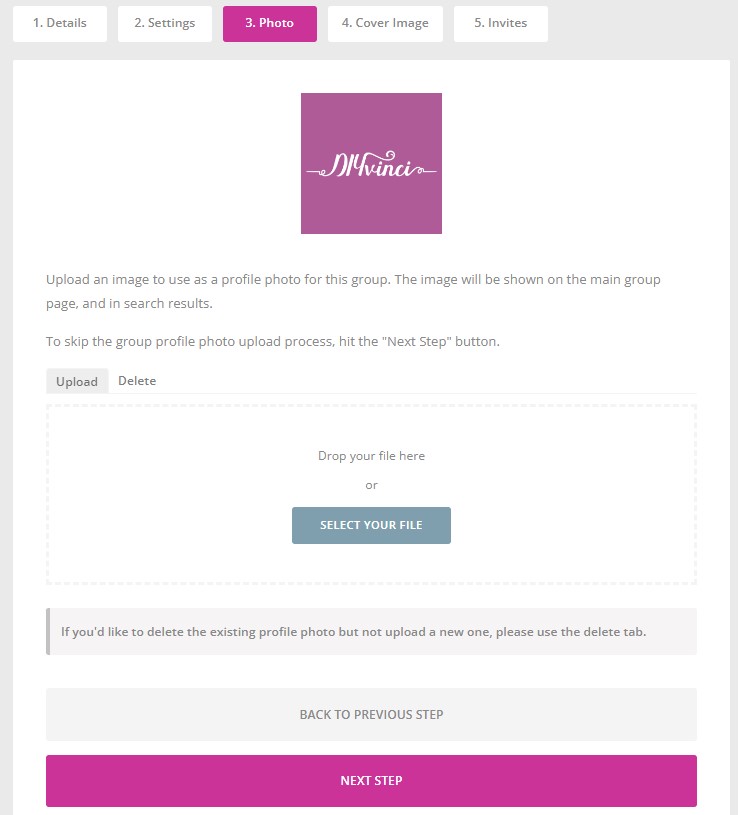
Step 3: Photo
Upload a profile photo for your group. This picture will appear on the main group page and in search results. To upload an image, click 'Select your file.' If needed, you can delete the uploaded photo by clicking the 'Delete' option.
Step 4: Cover Image
Customize your group's header by uploading a cover photo. Just like when you upload a profile photo, you can either drag and drop your file or use the 'Select your file' button. For the best results, ensure your image is larger than 1350px in width and 350px in height.
-Cl1Tox8F.jpg)
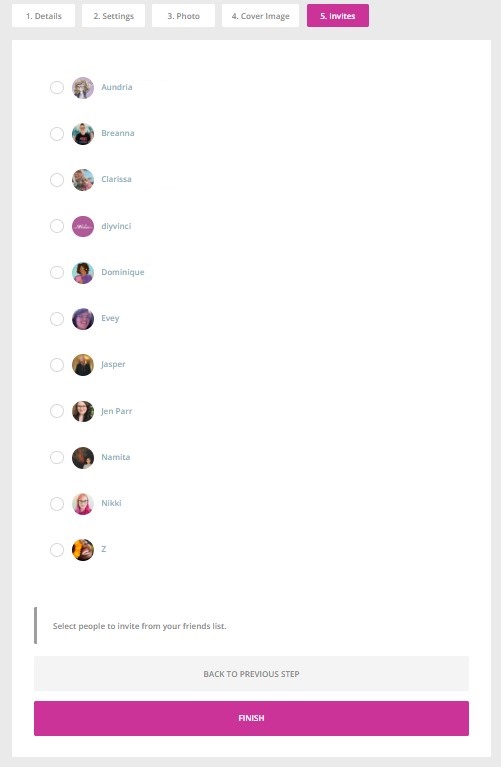
Step 5: Invite
In this tab, invite friends from your list. After completing all the steps, click 'Finish'!
Congratulations! You've successfully created your DIYvinci group. Your group is now ready to welcome members, inspire creativity, and build a vibrant creative community. Feel free to explore additional settings to tailor your group's experience.